3DS MAX-TILE MAP TUTORIAL
In exterior rendering we require
sometime material like bricks, grooves and etc.Many time we have texture but
not suitable color or design we actual want...here 3ds max give us TILE map for
texturing like as bricks and many type of grooves design....
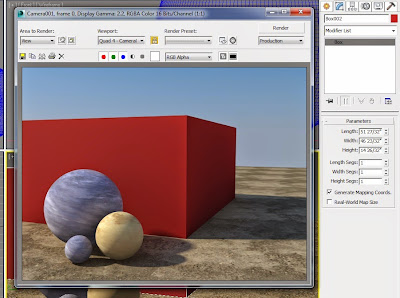
First, i create simple
scene.
 |
| without apply tile map |
|
Now i simply applying tile map from standard map-tiles ( image shown bellow)
O.K.
Now i see simply give tile map to my object. you can also
modify tiling from standard control-pattern setup
like...
1.Custom tile 2.Running bond 3.Common Flemish bond 4. English bond 5.1/2 running bond 6.Stack bond 7.Fine running bond 8.Fine stack bond
Above list has different types tiling. you may practice and learn how can
create different type pattern.
Sometime we have groove texture but we have not different type color of groove texture. in that case tile map is very useful map. it also create different type grooves and its color.let's see how can do it....
In advance control select pattern setup -stack bond

In tile setup
Select texture color which is simply like wall color.You can also give it texture from our library like wooden, marble, dust, rust etc...
When we require single vertical or horizontal line, less the amount of hori. count or verti. count.
in grout setup
Select groove(grout) color. this is line color which is expose over wall color or selected texture.Many time we require more thickness in grooves so tile map give us extra setting of hori. gap and verti gap. Play with this setting, result more thickness to line.....
RENDER IMAGE AND ITS SETTINGS
|
Setting-
tile setup-wooden texture
hori.count-1
verti count.-4
grout setup-black color
hori.gap-0.5
verti gap-0.5
Enjoy the tutorial.... :)


No comments:
Post a Comment